


You’ve taken photos of the property and gathered all your media for your client. Now, it’s time to add your media to your client’s listing in Flexmls. But wait! What are the steps and best practices for how to do so? Let’s go over adding your media in Flexmls.
Adding Photos
First and foremost, once you are a Preferred Photographer, you will be given your login information for Flexmls. You must keep your access credentials confidential.
Once you log in to Flexmls, you will see any listings you are connected to.

You will be able to add photos to listings that are not yet live called “My Incomplete” and Active listings in Flexmls. The agent you are working with will add you to the listing and you will have editing rights to the media section for that listing.
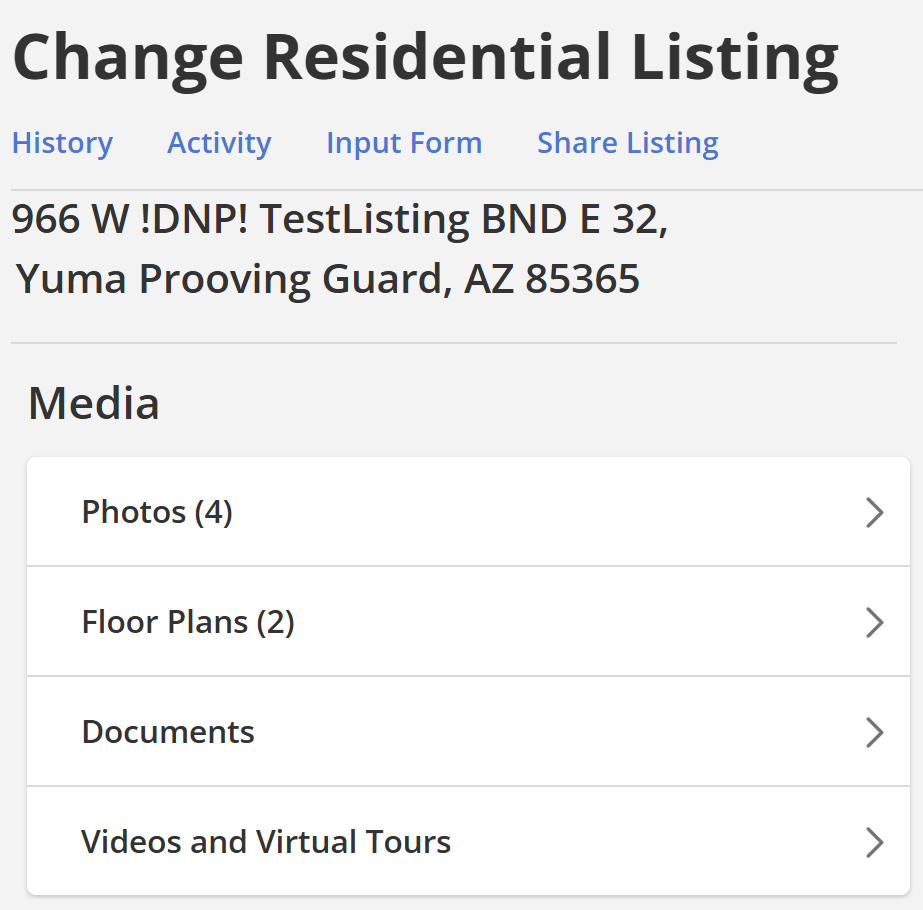
In order to upload photos to the media section of a listing, first click on Photos. Then, click Browse to locate the photos on your computer. It’s important to note that the primary photo does not need to be the front exterior, but the front exterior photo must be added within four days of the listing being active. After uploading the photos, you can name them and reorder them by dragging them or changing the number in the left corner. Consult with the agent you are working with for these details.


